The Viewpoint Checklist Trap: When Collecting Vistas Blurs a Coast
A slower coastal itinerary helps you notice tide lines, harbor activity, and changing light, while giving each stop a distinct purpose instead of another photo.
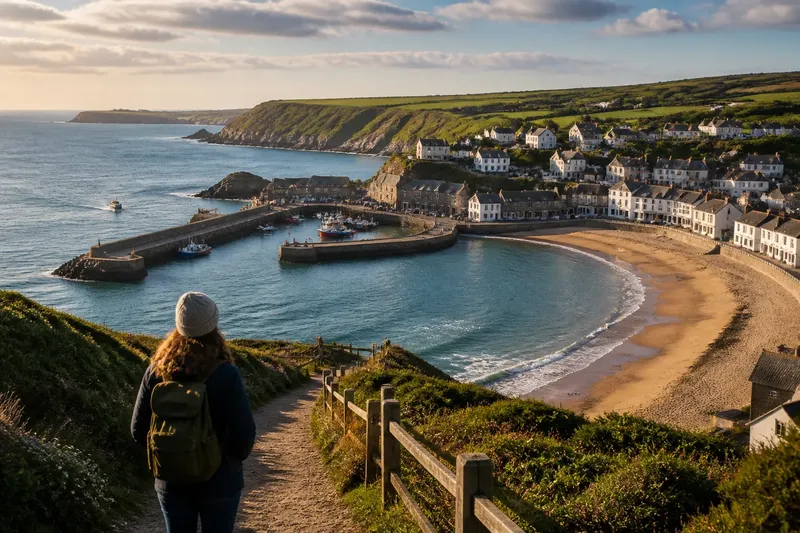
A coastal itinerary built around viewpoints can leave no room for the journey between them. A viewpoint checklist makes it easy to spend the day moving from one framed panorama to the next, then struggle to recall how the places differed. Give each stop a purpose—orientation, a view of harbor activity, or a look at how a town meets the water—and the route gains a rhythm instead of a tally.
This is not a case for avoiding scenic overlooks. A high vantage point can reveal the shape of a bay; a waterfront path can show what the bay means to the people who live and work beside it. The distinction matters for planning: choose stops that offer different kinds of information, and leave time for the transition between them. That middle stretch is not dead space on the map. It is where one coastal scene becomes another.
What does a viewpoint add to a coastal itinerary?
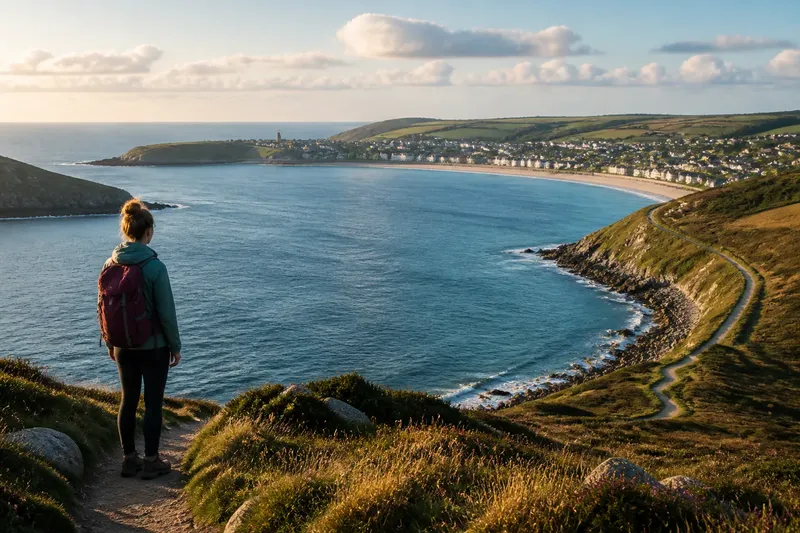
A viewpoint is useful when it answers a particular question. From above, you might see whether a harbor sits behind a headland or how a beach curves toward a town. At ground level, you might notice a slipway, a seawall, or the way a public path meets a working waterfront. These are different views of the same place, not competing entries in a scenic ranking.
Travel pace changes what you can connect. A quick stop may reveal a bay’s outline but not the route from the town center to the water. A walk between two overlooks may show that the coast shifts from a sheltered harbor to an exposed beach. If a second viewpoint adds only another horizon, it may not earn its place in a full day’s plan.
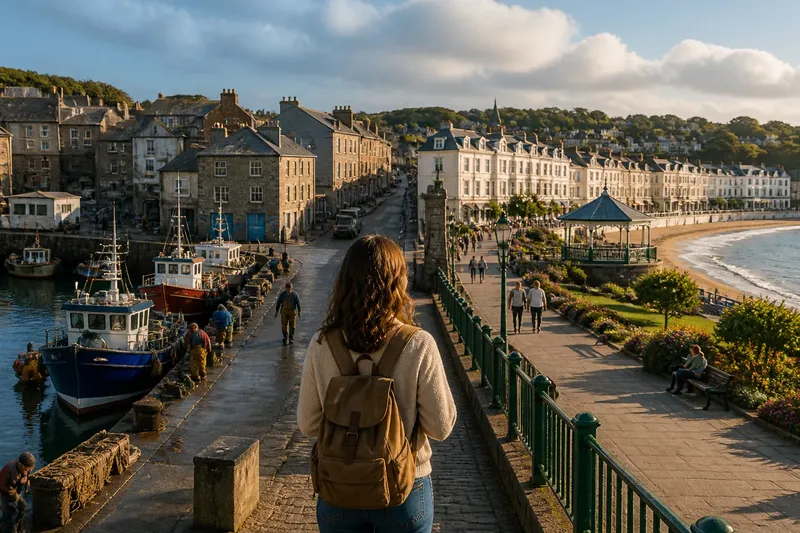
Think in terms of sequence rather than quantity. An overlook can orient you; a waterfront street can explain access; a return view can show how the settlement sits behind the shore. The day then has a beginning, a middle, and a change in perspective, without requiring a dramatic discovery at every turn.
How should you shape a day around coastal viewpoints?
Choose one coastal area and mark a starting point, a return point, and one optional stop. A harbor, public beach, or headland path can anchor the outing. Check a map app for public access and alternate routes, then follow local signs on the ground. A line on a screen is not permission to cross private land or a closed path.
Before setting out, decide what each planned stop should help you see. Keep the plan flexible enough to shorten if weather, crowds, or access conditions change. The following checks turn that intention into a practical route choice:
- Access: Check the map and local signs for a public route between stops. If the connection is open, walk it; if it is closed or unclear, use a signed alternative or leave that stop out.
- Distinct view: Compare the planned viewpoint with the last one. If it shows a different feature, such as a harbor entrance rather than another stretch of open water, keep it; if not, replace it with a ground-level stop.
- Return route: Check for a clear way back to your starting area. If one is available, use it to set the outing’s boundary; if not, choose a route with a known public return rather than improvising across the shore.
- Conditions: Read local notices and observe the weather before taking an exposed path. If conditions seem unsuitable or guidance advises against access, choose a sheltered public route or postpone that section.
- Room to pause: Look for a place to stop that does not obstruct residents, workers, or other walkers. If the viewpoint is crowded or sits beside active work, move to a public space where pausing is appropriate.
- Useful transition: Check whether the walk between stops passes a change in shoreline, such as a seawall giving way to a beach. If it does, keep the connecting walk; if it repeats the same scene without adding a useful connection, shorten the route.
Say you are planning an invented outing from a ferry landing to a public beach and back by a waterfront street. Your map shows a harbor overlook on the way, but a second overlook beyond the beach appears to show the same bay. You check the signs, confirm the landing-to-beach route is public, and keep the harbor overlook because it shows the entrance and moorings; you drop the second one and use the waterfront street for the return. The resulting plan has one high view, one shoreline stop, and a route that shows how the town meets the water. The tradeoff is simple: fewer panoramas, more context.
What should you notice between viewpoints?
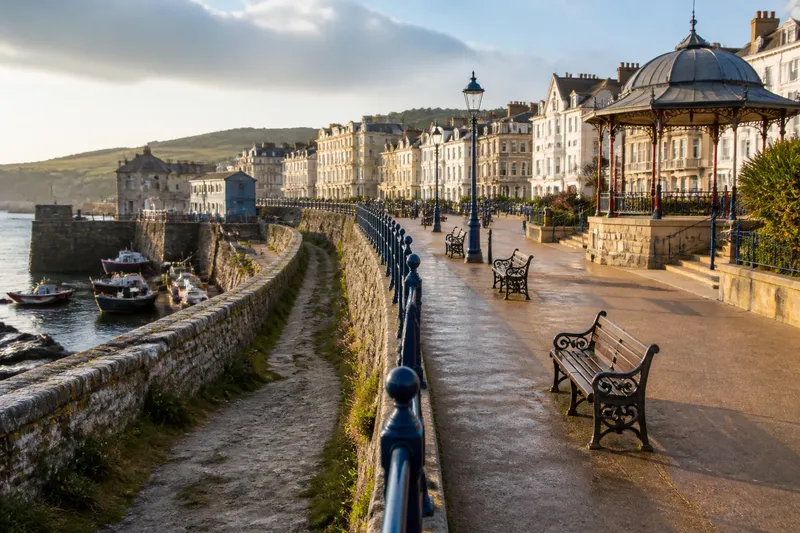
Watch for changes in the edge itself. A paved promenade may become sand, shingle, or a seawall. A public path may run beside a harbor before turning away from the water. These transitions tell you how the coast is arranged and where people can reach it, without requiring specialist knowledge.
Look for signs of activity as well as scenery: mooring lines, a slipway, a bench, or deliveries at a waterfront building. A calm-looking harbor from above may feel busy at ground level. Sound can help locate that activity when a bluff or row of buildings blocks the view.
Water and weather also change the character of a stop. Wet sand can mark where water has recently reached; wind may roughen one part of a bay while a breakwater shelters another. Treat such details as observations, not forecasts. Local guidance remains the better source for decisions about coastal access and conditions.
How can a viewpoint checklist guide photography?
A checklist can be useful if it describes what you want an image to explain. Instead of collecting one panorama at every stop, choose a recurring reference: a pier, a gap between headlands, or a line of waterfront roofs. A few images from different positions can show how the view changes as you move.
You can also photograph details that give the panorama context: a tide line below a wall, boats tied inside a breakwater, or a path disappearing behind a bluff. If a frame adds no new information, leave the camera down. The coast will continue, despite the camera’s evident disappointment.
For a longer trip, give separate outings different purposes. One day might focus on how a settlement opens access to the water; another might follow the transition from a sheltered harbor to an exposed shoreline. That keeps the itinerary varied without turning every named lookout into an obligation.
What do travelers ask about a coastal viewpoint checklist?
Should you skip famous coastal viewpoints?
No. A well-placed overlook can show the shape of a bay or the relationship between a headland and a harbor. Use it to orient yourself, then choose a ground-level stop that adds a different kind of detail.
How do you decide whether another viewpoint is worth the detour?
Ask what it shows that the previous stop did not: a different landform, a harbor entrance, or the way a town reaches the shore. If the answer is only another version of the same horizon, use the time for a connecting walk or a waterfront street.
What if the chosen coastal area feels uneventful?
Look for shifts in access, shoreline material, sound, or human use before changing locations. If those details still do not interest you, leave deliberately rather than adding nearby viewpoints by reflex.
How long should you spend at a coastal viewpoint?
Stay long enough to understand what the stop contributes to the route and to compare it with the next part of the coast. The right duration depends on access and conditions; a brief stop with a clear purpose can be more useful than a long pause at a view that repeats what you have already seen.
A viewpoint checklist works best when it helps pace the day, not fill it. Keep the coastal viewpoint checklist focused on distinct perspectives, and give the route between them enough room to show how one part of the shore connects to the next. Before leaving an area, check the return plan and local access signs; a useful final decision is knowing where the walk ends as clearly as where the best view begins.